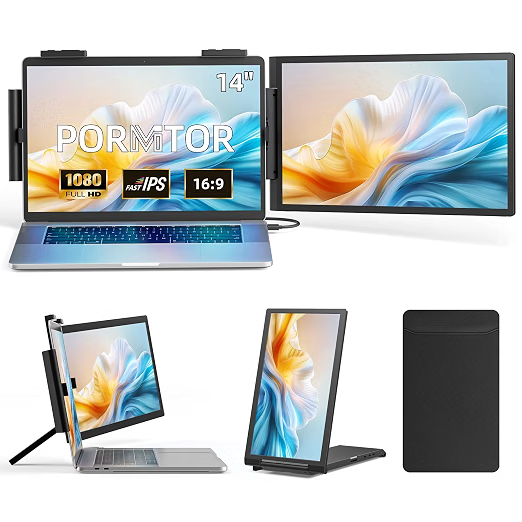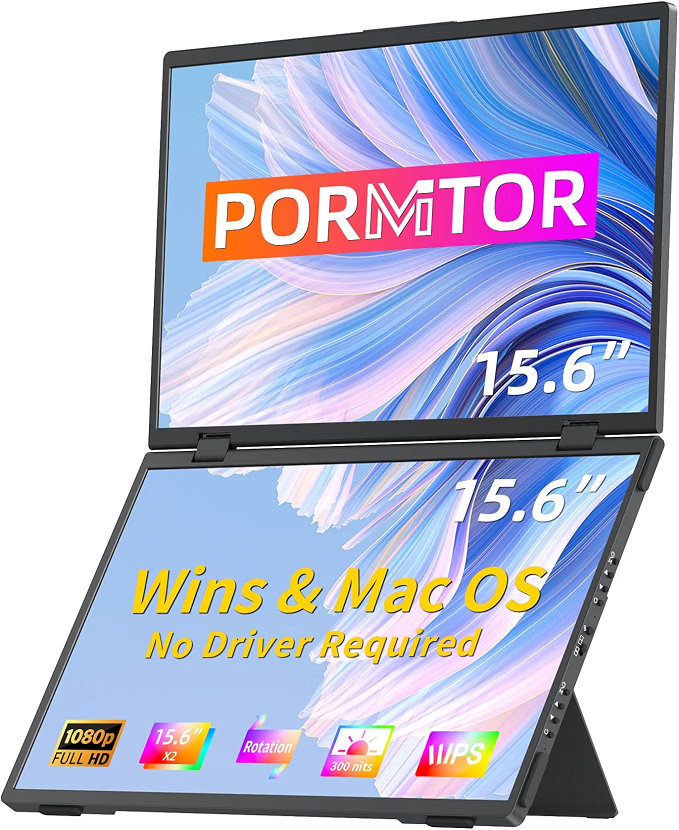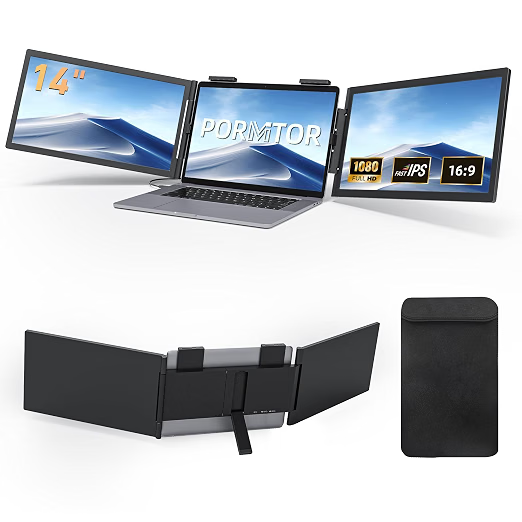
A PORNITOR extender is an ordinary external display, so setup takes a few minutes. What matters is the port you plug it into and one display setting on your laptop.
1. Check your laptop's USB-C port
For one-cable setup the USB-C port must output video, which is called DisplayPort Alt Mode. Look for a small DP symbol or a Thunderbolt lightning bolt next to the port, or check your laptop's spec sheet. A USB-C port without video still charges and moves data, but the screen will stay black.
2. Mount the extender
- Open the laptop lid to roughly 110°.
- Slide the extender's clamp over the back of the lid, centred, and tighten it so it holds without pressing on the screen.
- Fold out the kickstand until it rests on the desk. It carries most of the weight, which protects the laptop hinge.
- Swing the side screens out. On single models you can rotate the screen into portrait.
3. Connect the cable
- USB-C (recommended): use the USB-C to USB-C cable from the box. One cable gives picture and power.
- HDMI: connect HDMI (or mini HDMI to HDMI) and the short USB power cable. HDMI alone cannot power the screens.
- Triple models on a Mac: Pro and Max chips need one cable per screen to extend both.
4. Set the screens to extend
Windows: press Win + P and choose Extend. Then open Settings → System → Display, drag the screen tiles so they match their real position and pick which one is your main display.
macOS: open System Settings → Displays, choose the PORNITOR screen and set Use as: Extended display. Click Arrange to move the screens into the right order.
5. If nothing appears
Try another USB-C port, then HDMI plus power. The full checklist is in PORNITOR "No Signal": How to Fix It.
Model in this guide
PORNITOR Z140 Triple Laptop Screen Extender 14"
- 2 × 14" FHD IPS
- USB-C plug & play
- Fits 14–16.5" laptops